Oh so lovely German Chamomile

It’s coming into the colder months now and this is the best time of the year to grow some of my favourite plants. One of these is Chamomile!

chamomile

Not only is it a beautiful, fast growing annual, its also incredibly useful for both you and your garden. There is nothing better than a fresh cup of chamomile tea before bed on a cold winter night so heres all you need to know about how to grow it and what it’s good for.

Common Name: German Chamomile

Botanical name: Matricaria camomilla

How to propagate: Propagate from seed (like the ones in tea bags)

How to grow: Hardy, easy to grow, likes full sun but will tolerate a bit of shade, well drained soil, the better the soil the better the plant. Regular watering

Uses: For you:

  • Its so pretty, it’ll make you smile every time you look at it, releasing happy hormones.
  • Upset or can’t sleep? Have a chamomile tea and you’ll be calm and sleepy before you know it.

For your garden:

  • Great companion plants for your veges!
  • It contains tannins that promote seed germination by soaking them and softening the seed casings.
  • Attracts heaps of beneficial insects.
  • Can be used as a natural insecticide and fungicide.

So next time instead of buying chamomile tea bags, get out there and grow your own!

Time to get planting! The beginners guide to planting out.

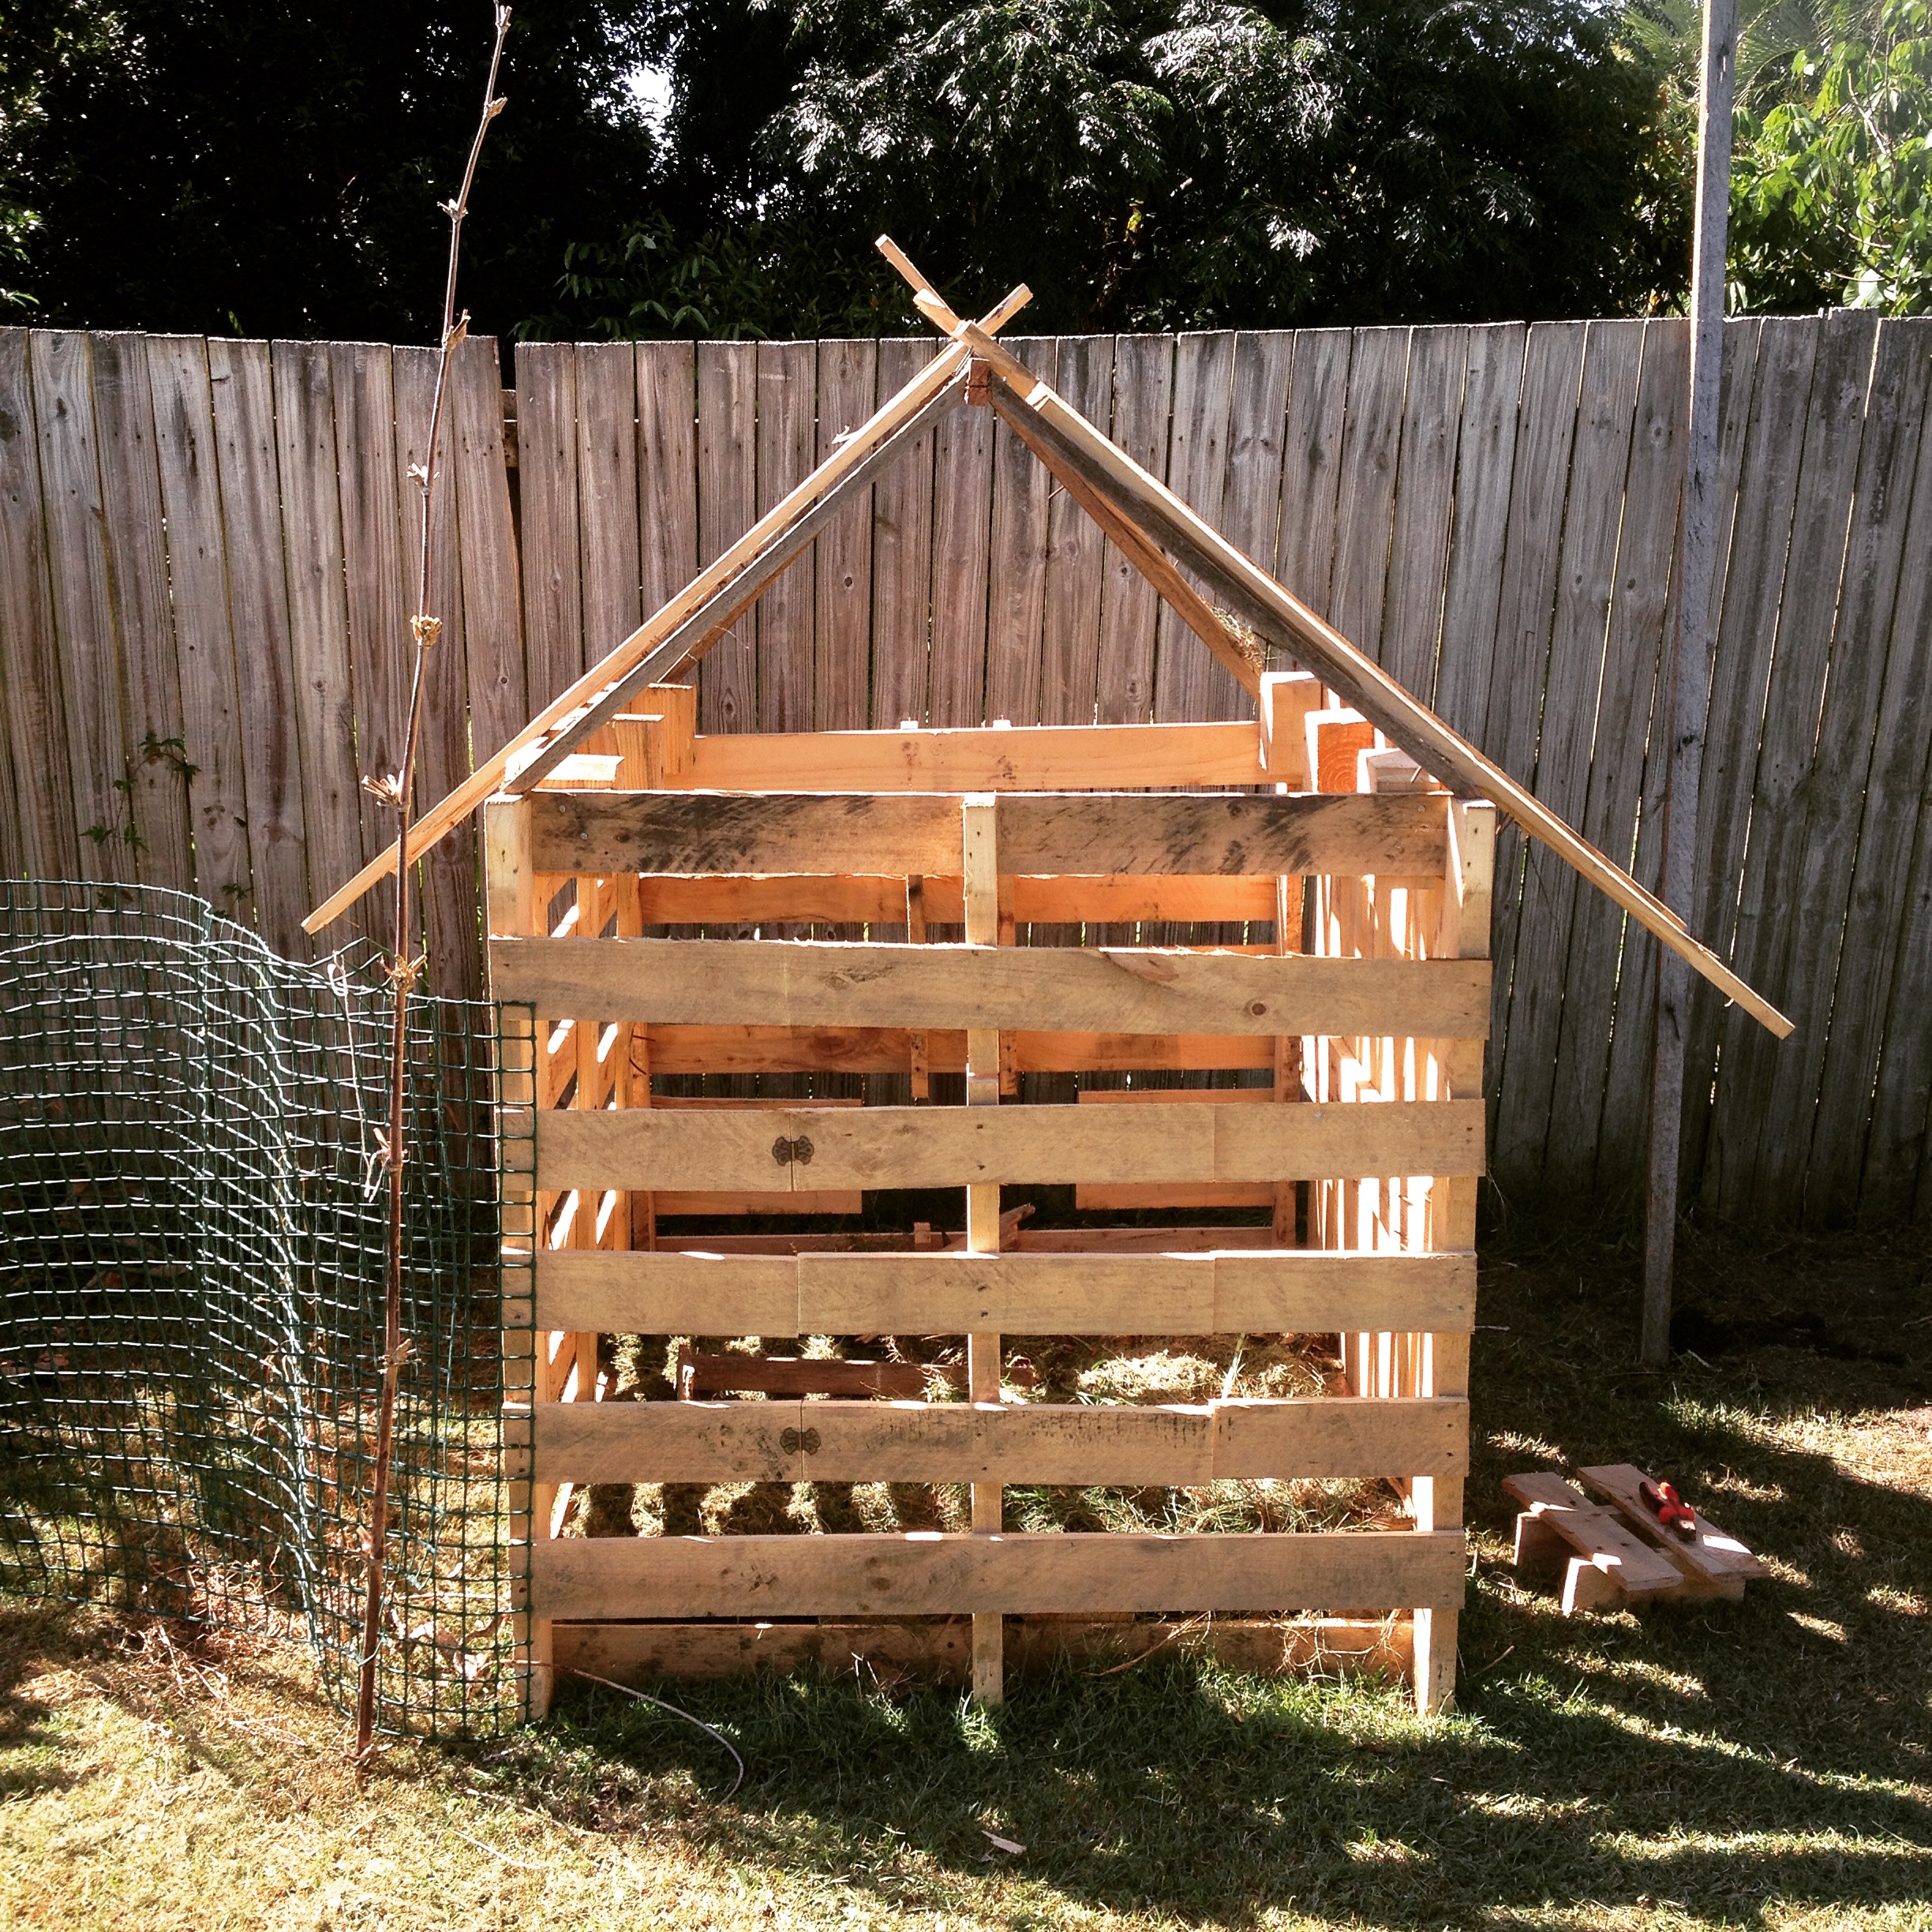
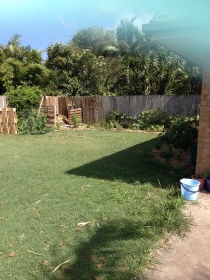
I’ve had a couple of people contact me lately that have just begun their gardening journey and it got me thinking about the all the things I learned about planting out a garden bed and how much easier and more productive my first season of growing would have been if I planned that little bit more.

I get that the prospect of planting can be exciting after all the work taken to create the garden bed itself but a take a moment to consider a few things before heading out and buying the first punnet of seedlings you see at Bunnings because at this point a little bit of planning goes a long way. Below I’ve put together a few things to consider before diving in.

 1.Keep it simple. Its easy to get excited and try and plant every single vege you love to eat but having patience and starting slow will ensure a lot less hurdles on the road.

2. Consider the season and your climate. What grows best in your climate at this time of the year? What is your climate? Don’t know? Look it up. A quick google search will tell you what you’re climate is and what veges to grow at what time of the year.
climate-zones

3. Chosen your veges? Now research them a little.
* What are their needs? Full sun, shade? Partial shade? Good Drainage? Make sure your bed is going to meet these needs.
* How long do they take to mature? There is little point planting a cold climate vege that takes 6 weeks to mature at the end of winter
*Are they a suitable variety? Even though the fruit itself may be suitable for your climate not all varieties of that fruit will be. Tomatoes are an excellent example of this and choosing the right variety can mean the difference between lots of tomatoes or no tomatoes.
* What pests and diseases are they susceptible to? Is there anything you need to look out for?
*How long do they produce for? Do they bear fruit all season or is their harvest period quite fast?

4. How much to plant?
Planting a butt-load of stuff in the first week is going to ensure you have HEAPS and then NONE while you wait for the next round to grow. Think about succession planting – that is plant some and then a week or two later, plant some more. This will ensure you have an ongoing supply and you’re not forced to make endless carrot cakes or eggplant curries like myself. In saying this, this idea does depend on how long the crop produces for. With crops such as carrots and beetroots you maybe be able to get a couple of rounds within a season if you’re smart with your timing. Crops such as capsicums, tomatoes and eggplants are long season crops that will bear fruit continuously and then there are some crops  such as corn and squash that generally bear fruit at the end of the season. I’ve provided a link at the bottom of the page for extra info on succession planting. Many leafy greens can last whole seasons too if you only harvest the outer leaves as you need and don’t pull the whole plant.

5.How to arrange your planting? Plants from the same family share pests and diseases so keeping them more or less separated is one organic method of fighting against these potential challenges. Again a quick google search will show you the different family groups which looks something like this (link provided below).  plant-families-1

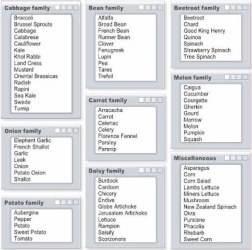
If you’re lacking in space in the garden but you want a few things from the same family you can try inter-planting rows of different families and even explore ‘companion planting‘ by inter-planting rows with plants from different families that help one another. I had to do this with my eggplants and tomatoes. They’re cousins so I planted Basil between the two crops which is an excellent companion plant for both!  Link #3 below is an excellent source of information on companion planting. Crop rotation is another organic way of preventing pest and disease and involves changing what you plant in each bed or spot every season. It’s a little more in-depth than just moving them around randomly so it’s perhaps an idea to explore once you’ve got the other basics down pat but I’ll provide a link at the bottom of the page to a site with some great info on it.

6. Seedlings vs. Seeds.  Ask the vegetable two questions…Do I have enough time in the season to grow you from seed? And does the plant mind being transplanted if I buy you as a seedling? There are many crops that transplant just fine and by buying seedlings you can significantly shorten the length of time you need to wait till harvest; Tomatoes, Broccoli, cabbage, parsley, Cauliflower, eggplant, celery and the list goes on. Root vegetables tend to do better when they’ve grown from seed such as Carrot, Beetroot but also beans, peas, cucumber and many others prefer being directly sown. Always buy good quality either way, you get what you pay for. Look out for a future blog specifically on seeds

7. Last but not least. MULCH MULCH MULCH. Protect your soil as healthy soil is the key to healthy strong plants. Soil should not be left uncovered…if you’re planting fine seeds that need light to germinate, leave small strips uncovered only and keep up the water like I’ve done in the pictures above and as the plant grows you can top up the mulch as you need. Mulching like the other topics can go further in depth and there will be a post dedicated just to this but this post is about basics so if you’ve bought seedlings to plant but haven’t got any mulch, get yourself down to your nearest garden centre straight away.

If this all seems overwhelming for you fear not – go back to rule one, keep it simple and have fun, it doesn’t have to be serious business. This guide aims to get you sustainably growing and eating your own veges all seasonS…Maybe this season you wont think too much about whats planted next to what and you may end up with Broccoli that wont grow a head or with a ridiculous amount of carrots but that just means all the more for sharing. You’ll win some and you’ll lose some but you’ll only continue to learn and next season your crops will be bigger, healthier and tastier!


Reference List

  1. http://growyourownfoods.blogspot.com.au/2016/07/cold-climate-zone-planting-times-for.html
  2. https://en.wikipedia.org/wiki/Succession_planting
  3. http://www.sgaonline.org.au/companion-planting/
  4. https://sites.google.com/site/knowyourvegetables/about-vegetable-families/onion-family
  5. http://www.sgaonline.org.au/crop-rotation/

The Garden’s Journey

The Gardens’ Journey love Lauren.

This next blog post has been  long time coming. I suppose its because I much prefer to spend my time outdoors getting things done than at  the computer reflecting on them. This garden has been an obsession and an outlet of the intense creativity I have been feeling in the last two years and I guess the only way to explain the garden, all its failures and triumphs and lessons learned long the way is to take brief walk through its journey. It is ever evolving and ever changing and as I’ve continued to learn more and my decisions have become more informed the changes have become less frequent. A little forward thinking goes a long way.

My obsession with growing my own food started when I came back to Australia and I was blessed with a  bare backyard and  landlord that didn’t really care what I did so long as I didn’t plant along the back fence.

IMG_0227 IMG_0152 IMG_0154IMG_0662

At this point I had begun studying permaculture in my spare time. Reading books about it, watching documentaries, studying different vegetables, the idea of seasons, composting and even backyard chickens. Obviously I was pretty keen to get growing so I bought plants and planted… anything, anywhere. Looking back I admire my enthusiasm but obviously the garden was not overly productive though I did manage kick ass crop of eggplants which I ended up swapping for tomatoes down at the corner shop because I couldn’t grow tomato to save myself. I kept going…. planting lots of veges and flowers too, I found bits and peices to use in the garden, pallets, sticks, rocks from the beach, bricks etc. I  experimented moving fences and plant positions – some plants died, others did too well for the spot they were in. I had many fabulous ideas that turned out to be ridiculous ideas but I’ve had a blast doing it all.


Under my construction repertoire I now have a herb spiral made out of beer bottles (collected them off a mate who lived in an all boys house).  A chicken house and yard build out of pallets, a raised garden bed built out of a bed frame from an old camper van and pallets, a greenhouse built out of bamboo thrown out for free from the neighbour, a beautiful Tee Pee with a queen size bed, built out of the same bamboo and tarps and vinyl from the tip shop. I also have a pond with fish and plants built out of our old fridge, garden paths made from old wooden pavers someone was throwing out and chicken proof fences made from sticks from the bush and second hand chicken wire. I’ve used a handsaw to construct everything which has kept me very fit.


Part of my garden motivation has been to encourage others to get out into their own and have a go. This education/inspiration factor has had a major impact on the direction of the garden. I was trying to create a garden that my housemates could use, (even just for herbs and composting) so for this reason I’m always chasing practicality and ease of access and use. It was only after completing my Permaculture Design Certificate that I really began to achieve this. This has involved moving things for better access – such as the compost bins and worm farm in direct view of the back door with a path leading to it. The chicken fences are great but only long legs are able to climb over so raised garden beds also became a priority with the latest being a house project with a lesson in bed preparation, seed sowing and mulching.


I have also made clear decisions about what I want from my garden which has made a massive difference to its progress. The construction of raised garden beds has left room for a flower garden to bring colour and life (metaphorically and literally in the form of birds and different beneficial insects) and a medicinal plant patch that we now call the house pharmacy.Its getting more and more productive every season with less and less work. I’ve improved my soil, mulched well, planted more perennials and been smarter with what and where I plant and in so doing had less insect problems. In learning how to manage my garden I’ve also had to learn to eat around whats in my garden (which has been a lesson unto itself) and am setting up a seed saving system for the house.

It’s a bit mis-matched and rough in places but everywhere I look I’m reminded of the lessons that i’ve learned along the way and I’m addicted to the challenge of doing what you can with what you have. Often you’re materials pick you not the other way around so you have to be innovative. I will continue on with it and  I am patiently waiting for all the wonderful things I’ve planted lately to grow and my compost to break down so I can start a new even better one… it will never really ever end and  I’ll continue exploring different methods of organic gardening and permaculture fitting as much as I possibly can into the space that i’ve got. In the process I hope I can show people that permaculture and organic gardens can be beautiful and productive at very little cost.


DIY Pallet chicken house

So the saga of the chickens! What a story….Maybe I should start with the realisation that having backyard chickens is a whole different ball game to having chickens on a piece of land and it has certainly been an educative process! Although we (humans and chickens) are now living peacefully with each other there has been some serious and slightly stressful bumps in the road.

You might ask why bother with chickens then? Eggs are relatively cheap! WELL, firstly they are so much more than just their eggs and in a functional permaculture garden chickens are a must and this is because they have low input and maximum output! This means that you get more out of them then what you have to put INTO them….Chickens need a house, this is true, and a place to roam. Apart from that, Chickens are very low maintenance. Give them a house, a place to play and they will eat your food rubbish, give you eggs, eat your insects give you poo (fertiliser) for your garden, take your grass clippings as bedding and in my case give you endless hours of entertainment (they are truly curious and funny creatures with distinct personalities). They are in a sense the most useful pet I’ve ever had.

So as chickens need a house this is where my journey began; the construction of the chicken house. In an effort to be sustainable I decided to do it out of as much recycled material as possible. I hunted down some pallets which come in fast supply from any Bunnings who leave pallets out the back for anyone to take. Though be warned, no two pallets are the same! There are some important lessons in construction that I learned very quickly…the biggest lesson is always measure! Forethought is incredibly handy and saves you a lot of time and effort.

Turns out that I seem to have enough building sense to get me through the building process though I think my success was largely down to the basic math I learned in school. I scored some roofing iron my neighbours were throwing out along with some other bits and bobs and I managed to pin together five pallets over a process….IMG_0702


IMG_0704 

IMG_0717

To create this……

IMG_0749

I made the yard to keep them in for part of the day and as a place to throw scraps and in turn protecting my garden from their curious beaks but they were not interested in staying in when there was a whole backyard to play in….

IMG_0734

This has led to me fencing off all my garden beds and allowing the chickens to roam free through the backyard…Although out of nowhere a pumpkin started growing in the yard so it has now become my pumpkin patch! A win for everyone I reakon.

Being the change you want to see

11707635_10154110787988079_2705456319258824554_nWhere to start? I guess with myself? My name is Lauren, I am currently 27 and I live on the northcoast NSW, Australia. Free range change…What’s it all about? I suppose put simply, free range change is a way for me to document that changes that I am making in an effort to live a more sustainable lifestyle within my means.
A light came on in my head not so long ago and I really realised deep down that we as a species – the human race – cannot keep living the way we are without severe consequences for ourselves, and every other species around us. I also came to realise that I have come to a point in my life where I no longer want to be part of this problem, that instead I want to become part of the solution and part of a positive future. I have taken my head out of the sand and have accepted that we must all make sacrifices big and small and I am ready to make them.

I know a lot of people go running when they hear the word sacrifices but what I have gained in in return for the [what I now consider] small things I have given up is worth so much more than any biscuit or new pair of shoes. I have gained priceless knowledge and insight into myself and life and the whole process has been and continues to be an amazing journey of self-discovery, self-discipline, self-determination and self-empowerment. I am far from perfect, and I still often make choices that I know do not reflect my goals or desires for change but I am also gentle on my self and remind myself to have patience and focus on the positive things that I have changed which keeps me inspired to do more and be better.

On a less practical and more spiritual note, this journey is also a lesson in applying kindness, patience and compassion in all aspects of my life and towards all other people. We all use this planet and we are all interconnected especially in our age of globalisation. I am attempting to show a kindness through being aware of my impact on our shared environment and minimising this.  I am not making these changes for my children or my friends children, I am making these changes for all the children, for all of us and by documenting my following projects, discoveries and stories of joys and frustrations I can only hope that I can inspire even just one other person out there to make their own changes, starting their own journey…

I cannot promise to keep these blog posts super regular as 1. certain projects take longer than others and 2. I am pretty bad at keeping computer based commitments. Though I do promise to keep slogging away at be it sometimes slowly.

Love Lauren